|
|
Stud.IP Dokumentation
|
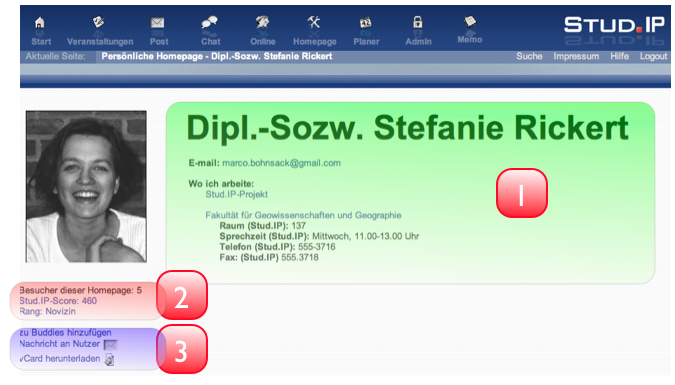
< Congratulations! | Overview | Your own picture > Your personal homepageYou access your personal homepage via the There you have the opportunity to present yourself to other users of the system. You can upload a picture of yourself, your curriculum vitae or document your working focuses, set up personal or public appointments, surveys or news, manage your system data and much more. Within certain limits you can design your homepage as you desire and do all that without knowledge of HTML. This is what the header of a well designed homepage looks like (some areas have been coloured to improve clarity): ––->
Above the homepage header there is a Tab bar with the different setting options required to embellish your homepage. Exactly how to do this is explained in the following items. 
Only you can see this Tab bar thus, no one else can tamper with your homepage. The tabs are not the only way to adapt your homepage. Anywhere that you see double arrows (on the right margin), you can change the settings. Click on the arrows and you can, e.g., directly edit the Course appointments area. Your homepage also offers the option of activating a guestbook. As standard it is deactivated. If you want to give other users the possibility of immortalising themselves on your homepage with comments, click once on the grey arrow. The guest book now opens. Click on the "Activate" button. Now your guestbook is active and can be used by other users. If you are new to the system, you should upload one of your own pictures to begin with. Please remember that normally only other Stud.IP users can access your Stud.IP homepage. Setting a link to a Stud.IP homepage from the Internet is only possible if you are a staff member of an institution which has its own homepage with a staff list generated by Stud.IP. If you have any questions in this context, please contact the competent administrator (to be found in Legal details simply click on the Stud.IP logo on the Header bar).
| ||
| |||

 icon on the Header bar.